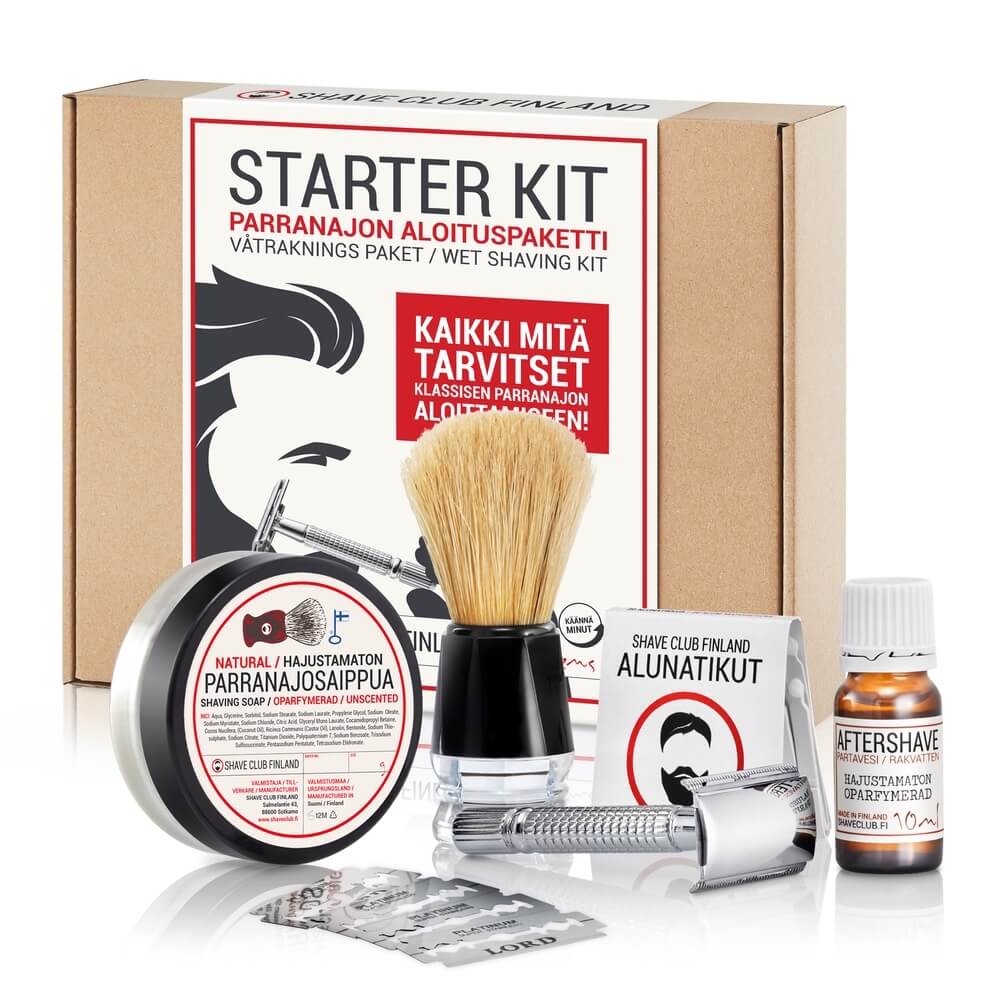
Classic shaving is on the rise in Finland and elsewhere in the world. I can see the rise in popularity in Finland alone Our Starter Kit of the past, and the reason is certainly not our ingenious marketing, but the genuine benefits of a classic shave. When something brings real benefits to people instead of the illusion created by fancy advertisements, it is usually passed on to friends. Read more about it here: 11 reasons to switch to classic shaving! Price comparison can be found here .
A beginner's guide to the secrets of classic shaving
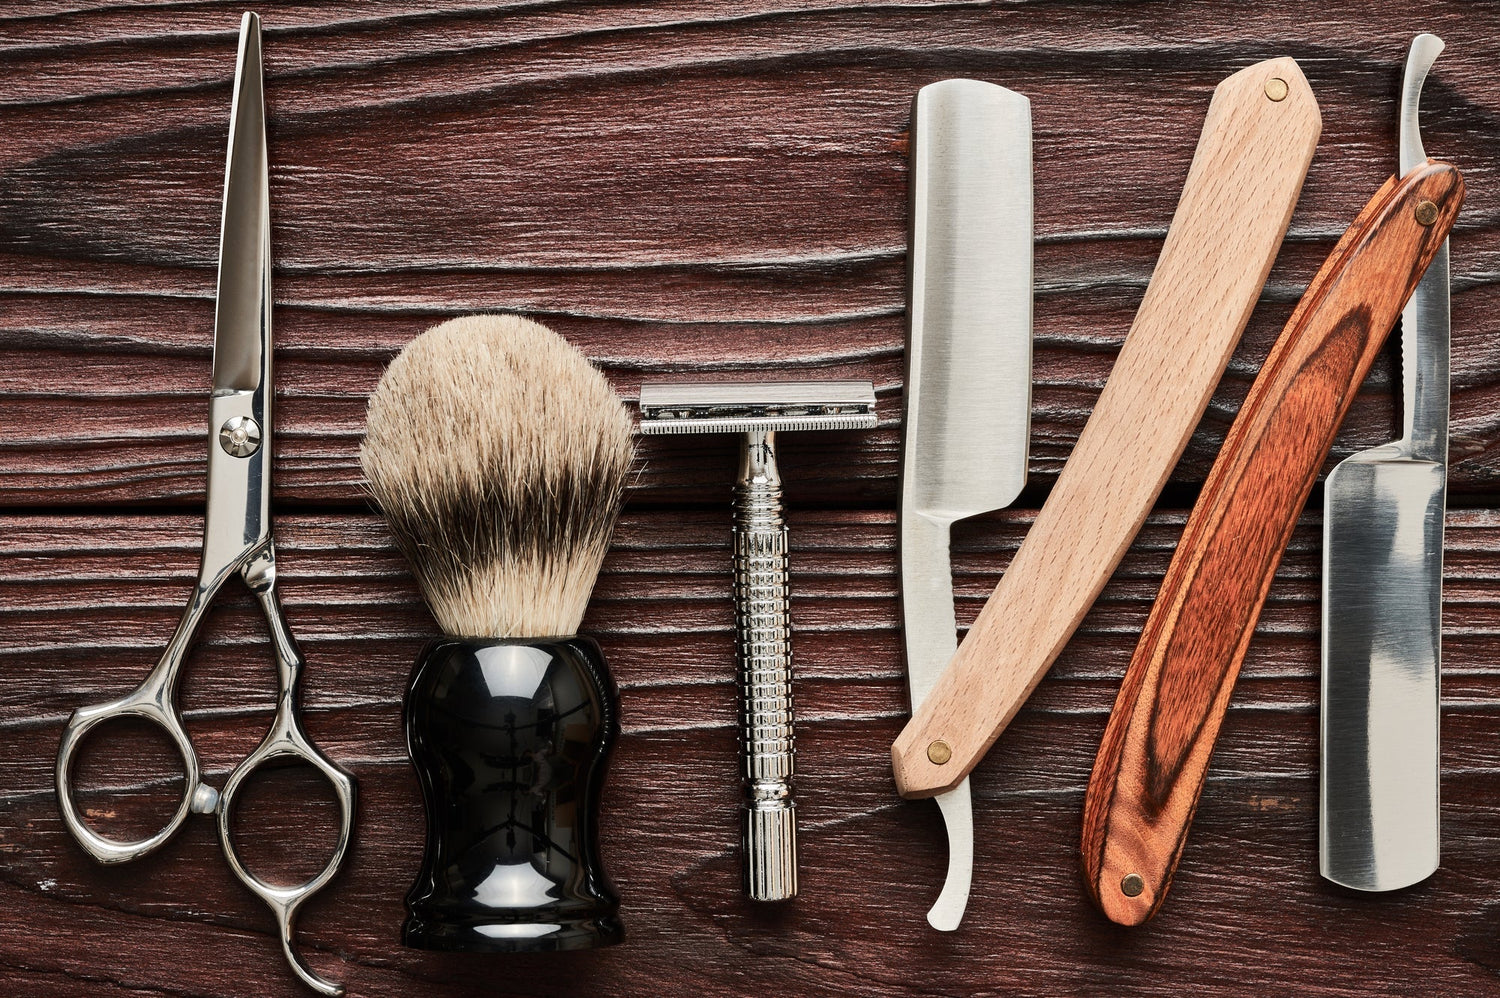
CLASSIC SHAVING
THE BEST WAY TO SHAVE A BEARD. STILL.
The classic shave, in many ways, outshines multi-blade razors, offering several advantages. These include a more precise shave, reduced skin irritation, and, most notably, the elegance and comfort that come with the entire shaving process. When you dedicate a little extra time to shaving and follow the proper technique from start to finish, it transforms from a mere chore into an enjoyable ritual.
The benefits stem not only from the superior razor itself—though it certainly plays the biggest role—but also from the use of quality shaving soap, and the attention to detail in preparation and technique.
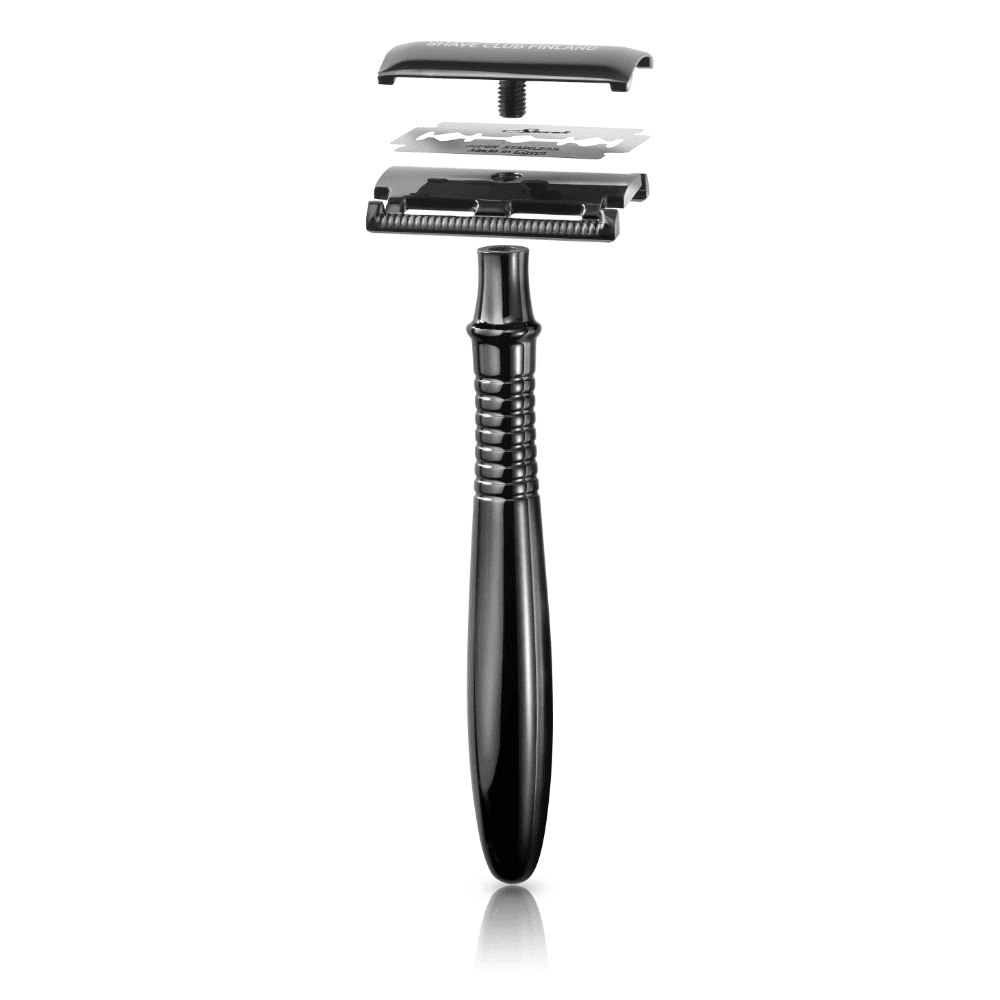
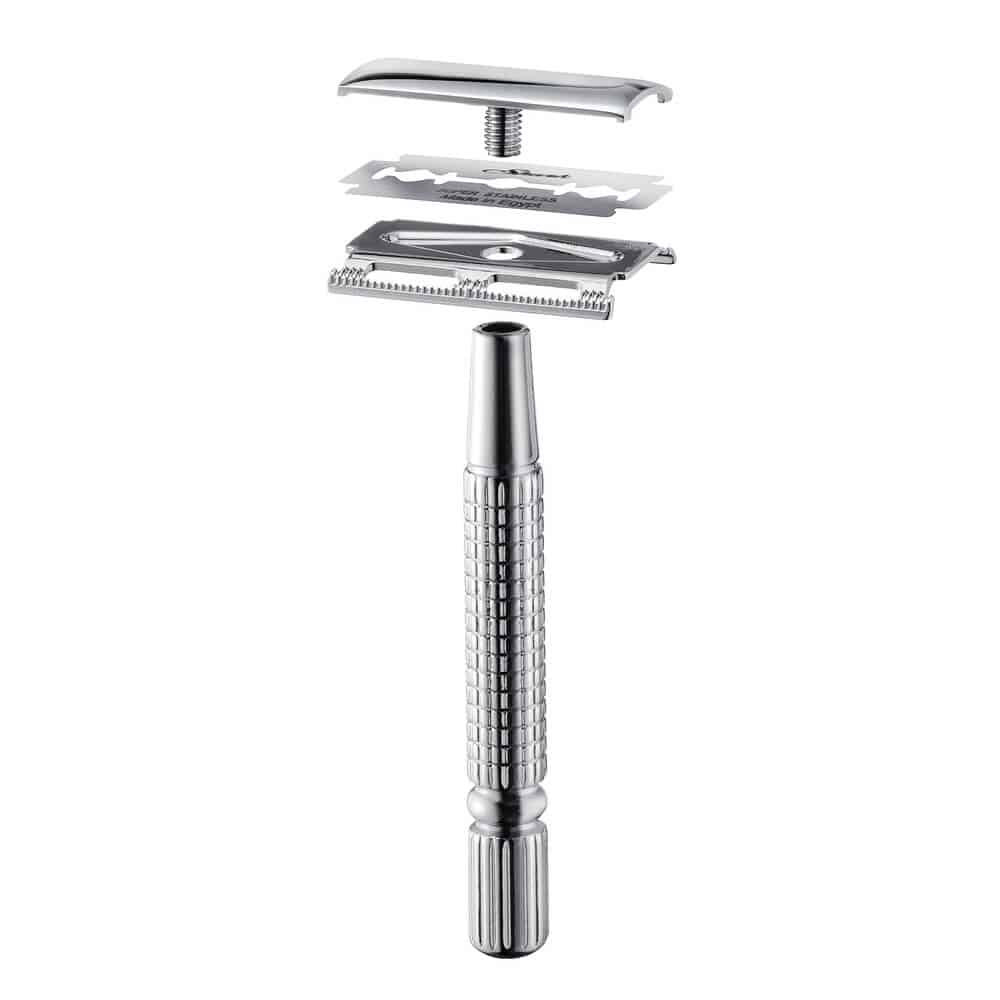
While classic shaving can be done with a traditional razor, shavette, or even a straight razor, for beginners we've chosen to recommend the safety razor for its combination of elegance and beginner-friendly design.
Classic shaving is not only for men.
A razor is a razor, no matter what type of hair it’s designed to shave. Across the internet, you’ll often find the same product being sold under different names in various stores. This isn't a mistake, but rather a way to cater to different target audiences.
For example, most people wouldn’t choose a razor marketed for a specific body area if they intended to use it elsewhere. The same applies in reverse—just because a product is marketed for one type of shave doesn't mean it’s ideal for another. We also sell classic razors, sometimes called English Safety Razors, in shops aimed at both men and women as "shavers."
However, regardless of the name—whether it’s called a razor, a shaver, or a safety razor—all three terms refer to the same product: a traditional single-edged razor. The key is being aware of what you’re shaving and choosing the right tool, whether it's an open or closed razor, for the job.
Shaving Preparation
1. Map the Growth Direction of Your Beard
Don’t skip this seemingly boring first step—it’s crucial! Mapping the direction your beard grows will help you shave more effectively and reduce skin irritation. By knowing the growth pattern, you can shave in the right direction, making the process smoother and more comfortable.
2. Prepare Your Shaving Brush
Soak your shaving brush in hot water for a few minutes. This softens the bristles and makes it easier to lather soap or cream later on. If you’re using a razor blade, make sure it's fresh, unless the old one is still in good condition. A blade generally stays sharp for 5-10 uses, depending on the thickness of your hair and the coating on the blade. After soaking the brush, wash your face with warm water (and preferably soap) to make shaving easier. A warm shower before shaving works wonders, or you can use pre-shave oil. Doing both will leave your beard extra soft for the smoothest shave.
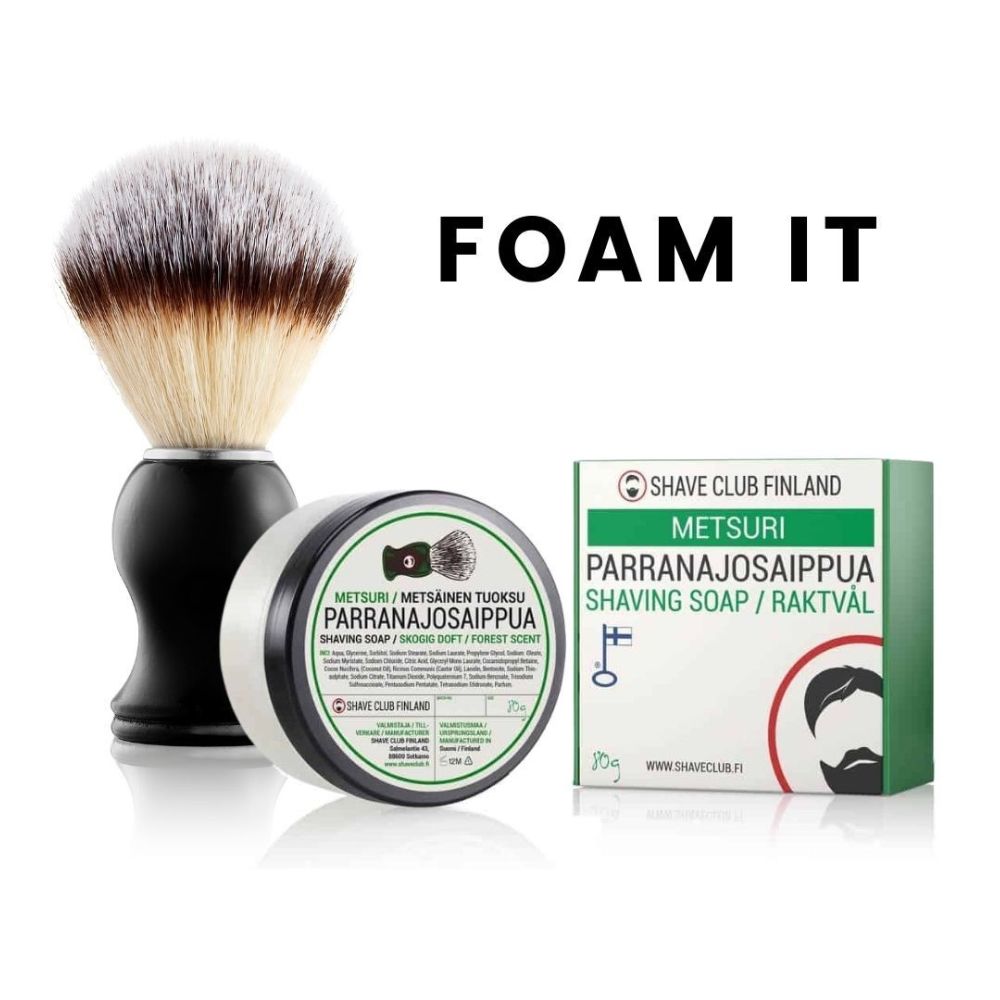
3. Lather the Shaving Soap or Cream
Shake off any excess water from your brush and load it with soap or cream. It’s helpful to place the soap in a bowl (or even a coffee cup) so it stays in place while you work up a lather. If the foam is too thick, sticky, or not enough, add a little water with your fingers and swirl the brush around for about 20 seconds to load it up. Once you have enough lather, apply it gently to your face. In the beginning, when you’re still getting the hang of it, apply foam to small sections of your face at a time. This ensures the soap doesn’t dry out before you’ve had a chance to shave each area thoroughly.
Shaving the Beard
4. Find the Right Angle for the Blade
To find the correct angle, place the head of the safety razor directly against your cheek. Slowly pull the razor down along your cheek while gently tilting the razor downward. When the blade begins to cut, you’ve found the right angle. The recommended angle is typically around 30 degrees.
5. The First Pass
For the first pass, shave in the direction of hair growth. The goal here isn’t to achieve a baby-smooth face but simply to trim the beard. Don’t press the razor against your skin—let it glide under its own weight. Avoid applying too much pressure! It’s also helpful to stretch the skin, either by holding it at the temple with one hand or by puffing your cheeks or lips. After the first pass, rinse your face with cold water. This helps close the pores and soothes the skin. For many, this first pass is sufficient for a clean shave, but if you prefer even smoother cheeks, proceed to steps 6 and 7. If you're happy with the result, you can move on to step 8.
6. Second Pass
The second pass is a cross-grain shave, meaning you shave perpendicular to the direction of hair growth. If necessary, reload the razor with soap and lather your face again. Remember, the same rule applies here—don’t press the razor against your skin. The result of this pass will be sufficient for most people, but if you’re after an even smoother shave, continue to step 7.
7. Third Pass
The third and usually final pass involves shaving against the grain, in the opposite direction of hair growth. This is more challenging and the easiest way to get small nicks or cuts on your face. However, it’s the only way to achieve a truly silky-smooth finish. For beginners, we recommend skipping this step, or instead, performing another cross-grain pass in the opposite direction. Once you’re comfortable and confident with the razor, you can attempt this more advanced pass for the closest shave.
After Shave
8. Rinsing
Rinse your face with warm water to remove any excess soap and help clean the pores. Follow this with a rinse of cold water to close the pores. Gently pat your face dry with a towel—don’t rub! Rubbing can irritate the skin and cause unnecessary friction, which may lead to irritation or dryness.
9. The Final Touch
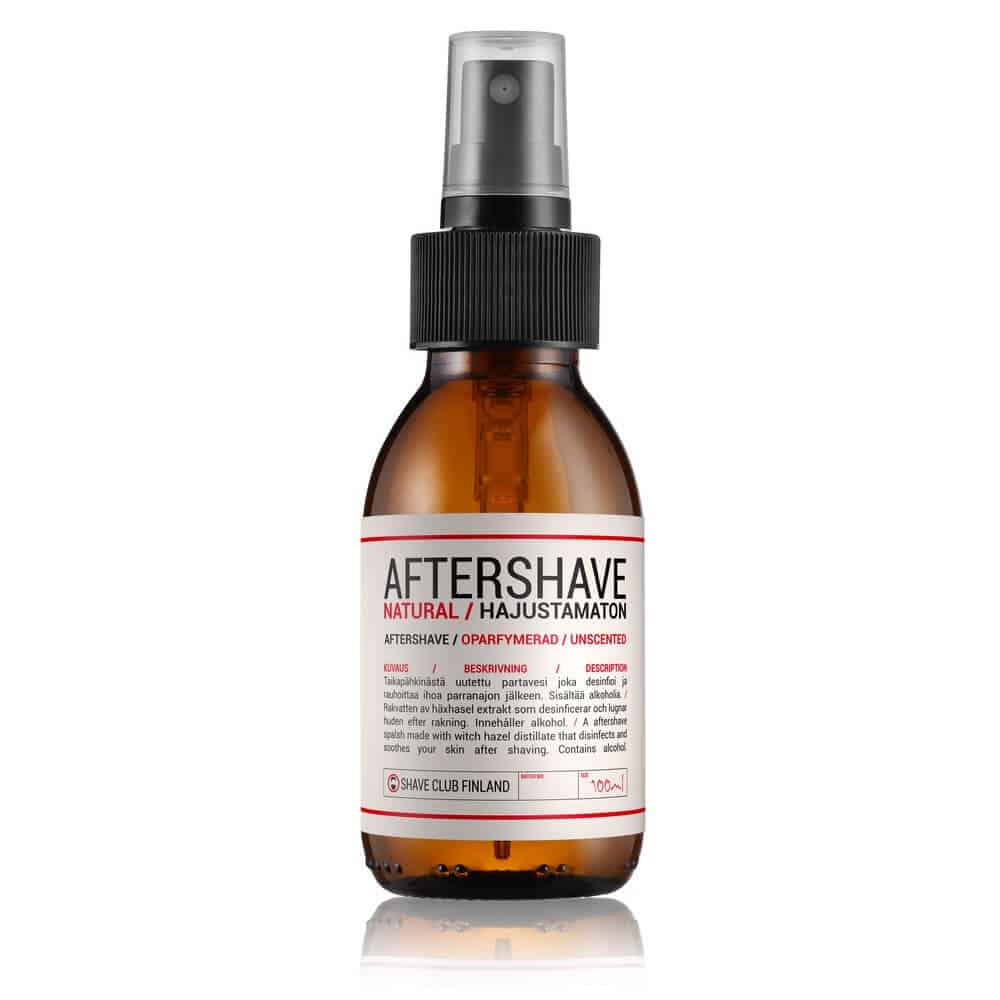
Apply aftershave to finish your routine. Aftershave helps to soothe and refresh the skin while also highlighting areas where the shave may not have been as smooth. Its purpose is to cleanse the skin and calm any irritation. It's also a good idea to use an alum stick (or alum stone), which can help disinfect and close small cuts or nicks that may have occurred during the shave.