A beginner's guide to zero-waste sheaving
ZERO-WASTE SHEEVING
NO WASTE AND OTHERWISE THE BEST WAY TO SHAVE YOUR HAIR.
Do you also use the same replacement head on a multi-blade planer for too long until the blade is completely dull and jagged? This causes painful sheaving and a nasty looking end result. Let me guess that this is due to the outrageously expensive pricing of replacement blades, which makes you try to ride with the same blade as long as possible. This was a very familiar phenomenon to me as well, but luckily I found a single-edged safety razor. It's hard to beat as wellin the pricethat in quality.
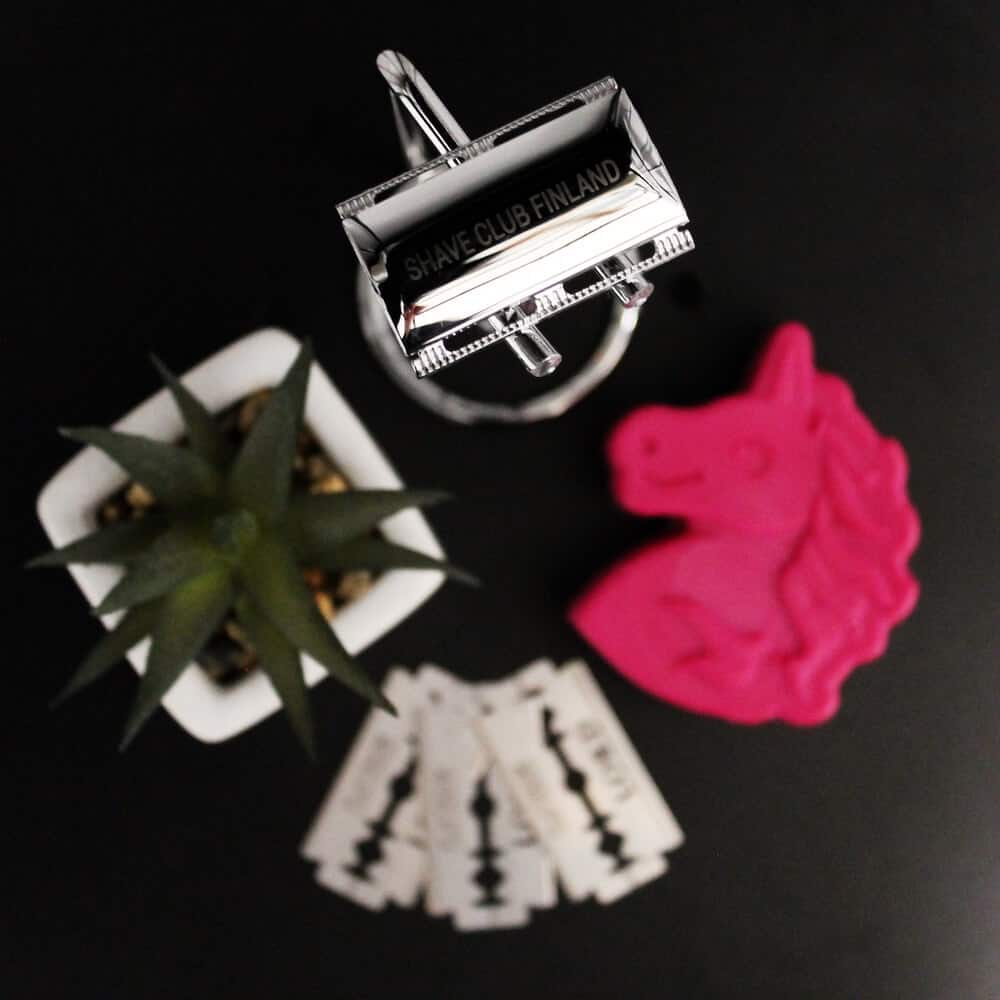
With the Safety Razoryou get a better result with less skin irritation than with a multi-blade planer. The reason for this is simple; that first and only blade cuts the hair evenly from the root, while the blades of multi-edged razors shorten the hair in steps and unevenly. So a safety razor is a cheaper, better and more ecological choice. And it's also a stylish addition to your bathroom!
Even though the planer is of great importance to the track, not all the credit can be given to the planer either. Preparations, decentpre-shaveandsheaving agentsmixedaftershaveand moisturizing the skin are all part of getting the perfect result. I will tell you more about these next.
PREPARATION FOR SHEIVING
1. Peel the skin
Exfoliating the skin before shaving is important to get a smooth end result. Exfoliation removes dead skin cells from the skin, allowing the planer to glide smoothly over the skin. The hairs also come out better, which makes it possible to cut the hairs from the root.
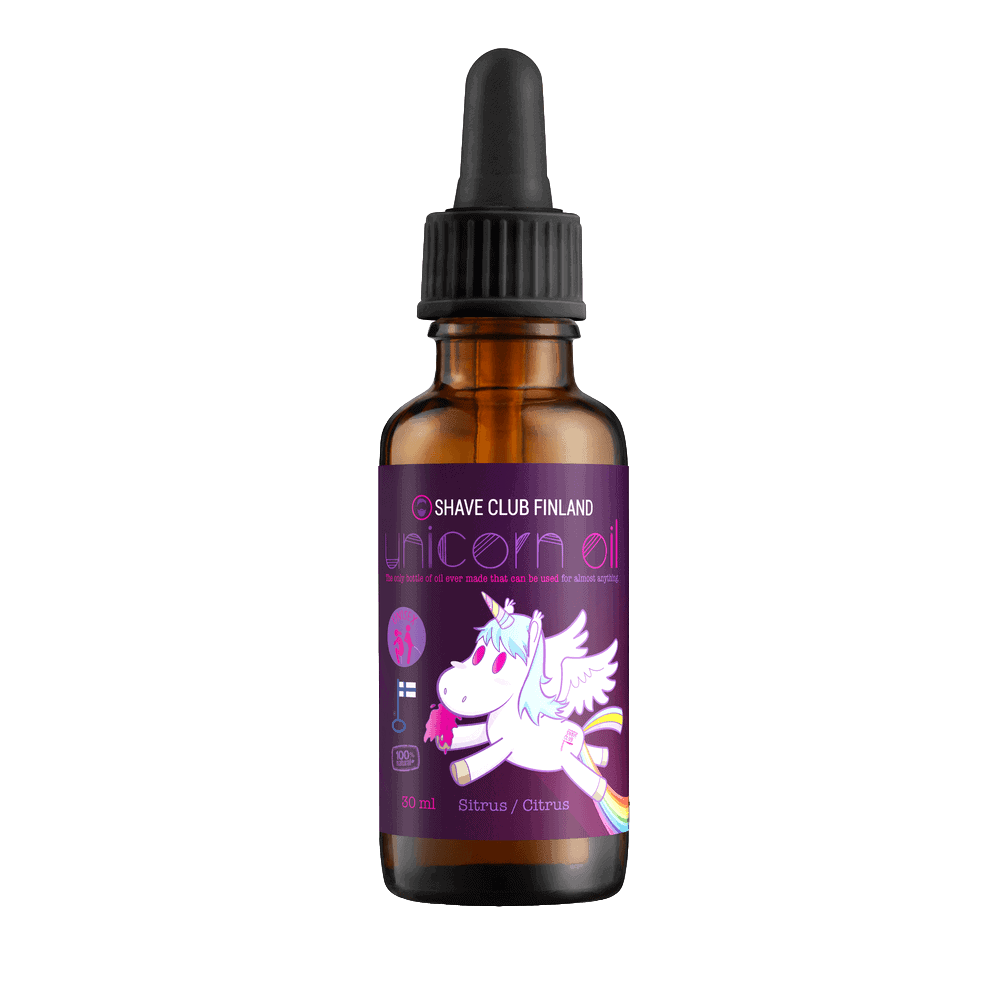
Suitableexfoliating agentdepends on your skin and preferences. However, oil-based sugar or salt scrubs are a good choice before shaving, as they provide additional protection for ingrown hairs. You do not wash off the scrub with detergent, but only rinse it off with water.
If your skin is really dry, you should moisturize your skin, e.g.with skin oilor with a good moisturizer the night before shaving.
2. Pre-shave
It's good to put on after peelingpre-shave, which provides more protection and glide for sheaving. It also softens the hair, which makes shaving easier and more pleasant. The use of pre-shave is especially recommended for sensitive areas, such as the intimate area and armpits.
3. Blade in place
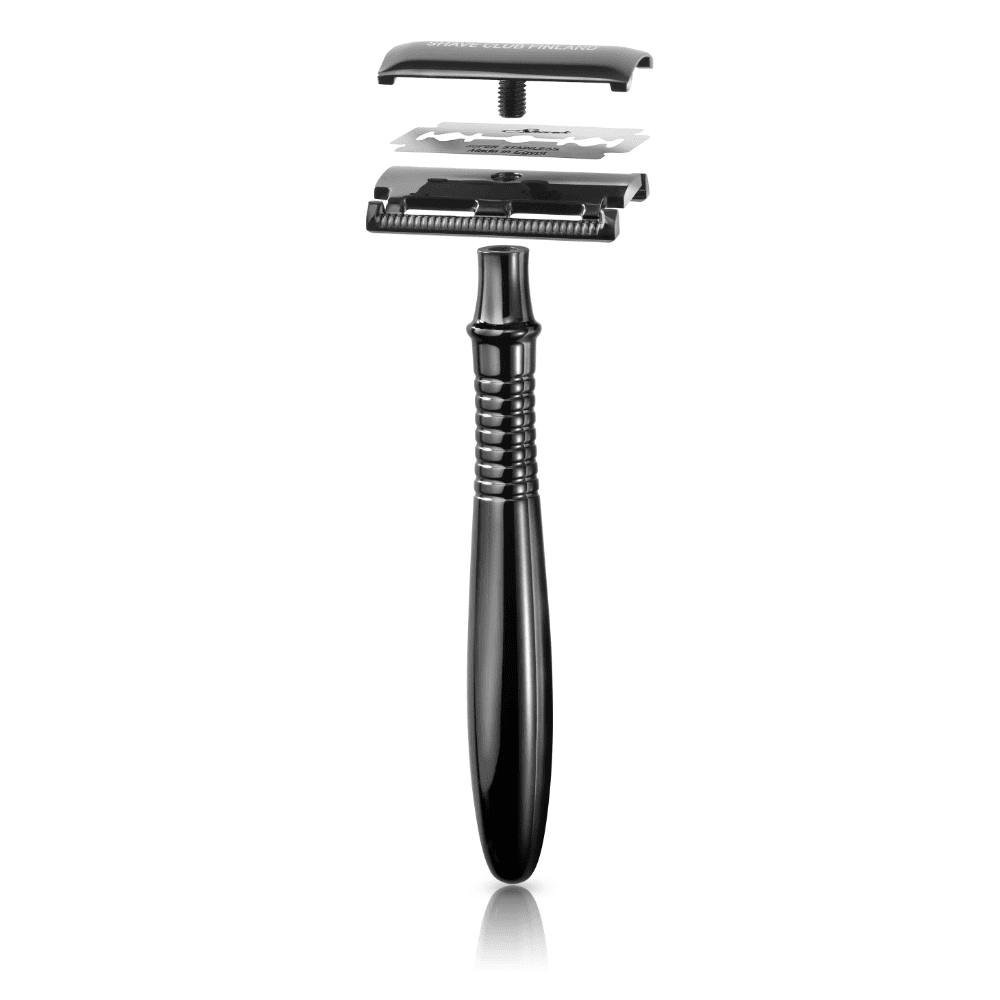
While the pre-shave takes effect, it's time to put the blade back in place. Unscrew the planer and insert oneDE bladeinside the hat part, holding the narrow ends of the blade. (See picture!) Screw the planer back on so that the blade stays straight inside the hat part. Be careful with the blade, it's really sharp!
There are many types of blades and the most suitable blade for each person is very individual. Hair and skin type affect finding the right blade.Blade Sampleris an excellent choice for a beginner, because in it you can get to know 10 different blades (the package includes 2 of each blade).
THEN TO SHEIVA
4. Find the right angle for the planer to drive
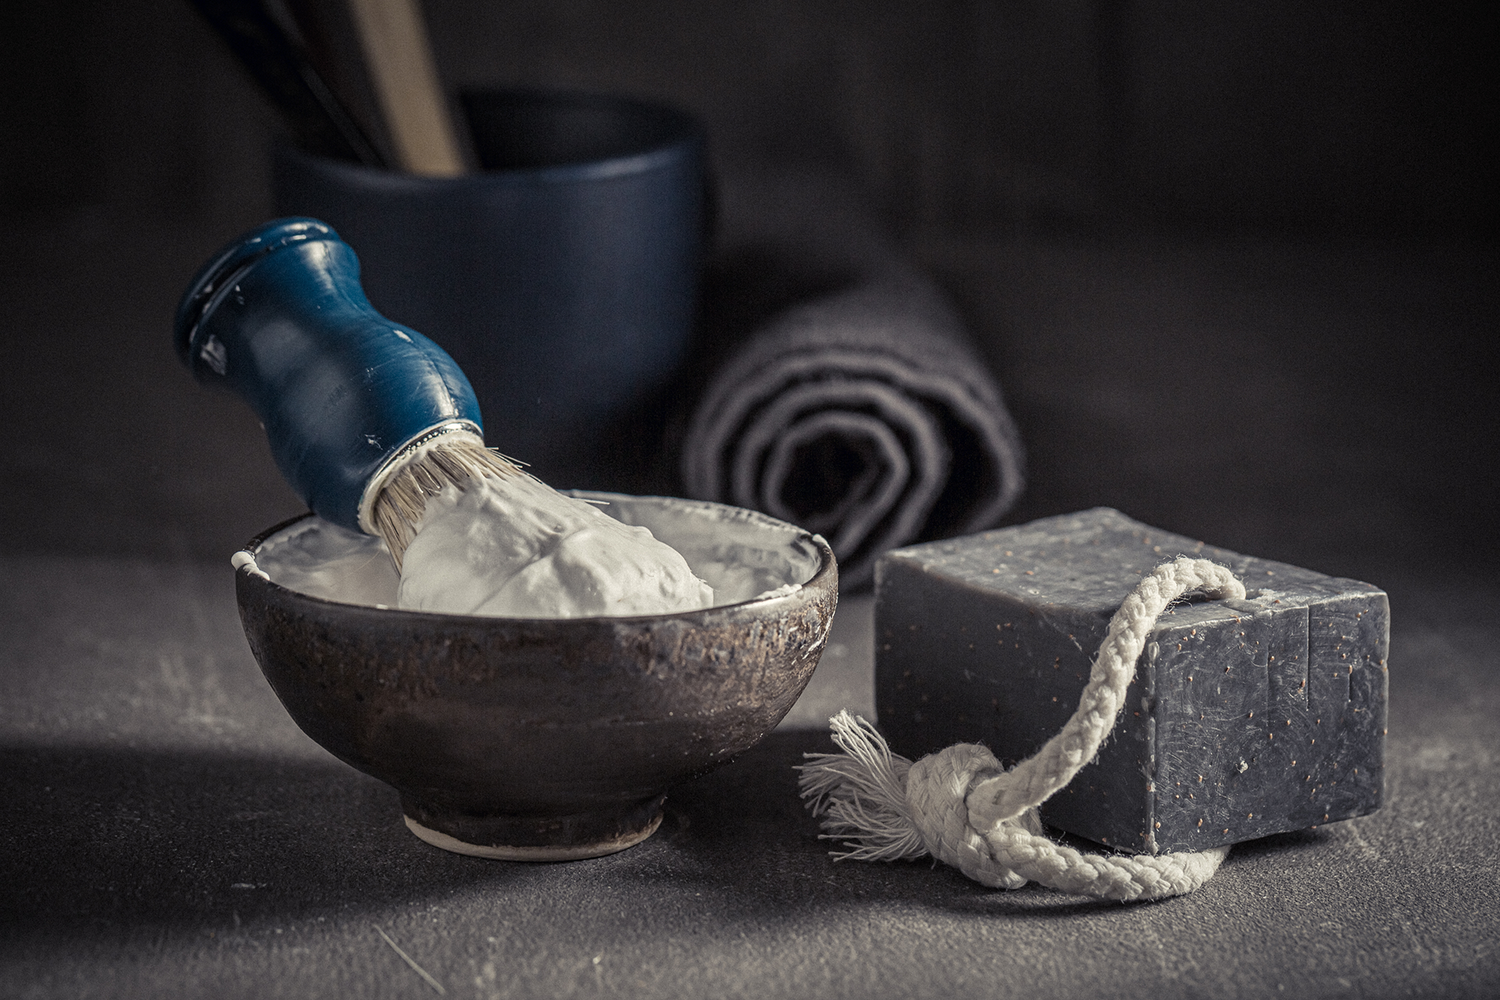
Apply shaving agent to the area to be shaved. If you use a bar of soap, you can rub the bar directly on the skin in a back and forth motion until the soap foams. If you want to add elegance to the job and also get a better lather, you can also lather the soapwith wolves in a bowl. You can find more detailed instructions for thatfrom here.
Let's start the sheaving by finding the right angle. The easiest way to find the right angle is to place the planer directly against the "hat" of the skin, slowly pull the planer down on the skin and at the same time turn the planer downwards. When the blade starts to cut, you have found the right angle. The recommended angle is usually around 30 degrees.
5. Sheivaming
When the right angle has been found and the shaving agent is on the skin, you can start shaving along the hairline. Be especially careful the first time and do NOT under any circumstances press the planer, but let the planer slide on the skin under its own weight. Remember that the blade is really sharp! You should also rinse the planer after each stroke, so that there are no hairs blocking the planer, and you still get a better impression. Save nature and take a bucket of water for this, because you don't keep the water tap open the whole time you are washing.
When shaving along the hair, the mark is not necessarily silky smooth, but the purpose is to shorten the hair. Repeat the shearing on the crosshair and/or opposite hair to get the best result, but remember to add the shearing agent in between. Please note that small cuts are more likely to occur when shaving crosswise and especially against the hair, so be careful. It is also recommended to tighten the skin in the direction you drive.
If you're more experienced, you can also shave at least thinner and shorter hairs, such as leg hair, directly into the cross hair or opposite hair. For thicker and longer hairs, I always recommend starting with a shearing along the length of the hair.
AFTER SHEAVING
6. Rinsing
Rinse the skin first with warm water. Warm water washes away excess soap and cleans skin pores. After this, rinse your skin with cold water to close the pores. Pat your skin dry with a towel, don't rub! The harder you treat your skin after shaving, the more braiding you will create.
7. The final touch
If you got a small wound, no problem,alum sticks or stonedisinfects and closes small cuts and wounds under the time unit. Just wet the alum with water and roll it around the wound until it is numb. This stings a bit, but works effectively. So you should always keep alum sticks or an alum stone in the cupboard. After all, even the more experienced people have nightmares from time to time.
Once any wounds have been treated, it's time to applyaftershave. The idea of aftershave is to clean and soothe the skin after shaving. Finally, an extremely important thing if you want silky soft and smooth skin;skin hydration!
